
 My Nephew, the oldest grandchild in our family and also my Godson is graduating from high school in a week. I offered to my sister (his mom) to make two cheesecake for the party. I really wasn’t sure what two kinds I wanted to bring from the many I’ve made, but I knew I would come up with something good. One day on Pinterest I came across this beautiful looking cheesecake at Baked by an Introvert and knew it was going to be one of the cheesecakes I would make for the party. My family loves a dessert called butterfinger tort, so I thought this cheesecake would be a huge hit with everyone from my side of the family at least. I did make a few changes to the original recipe but only because I have my way of making cheesecakes that works for me.
Now this cheesecake is not the one I will be serving for his party. If I’m making a cheesecake for a group of people I like to make sure it’s one I’ve been made before and I know it’s going to be good. I also wanted to try freezing a cheesecake to see how it holds up to being frozen and thawed to eat. Once my husband and I have a few pieces I will send this one-off to the freezer to be my test at that. I will let you know how it turns out. 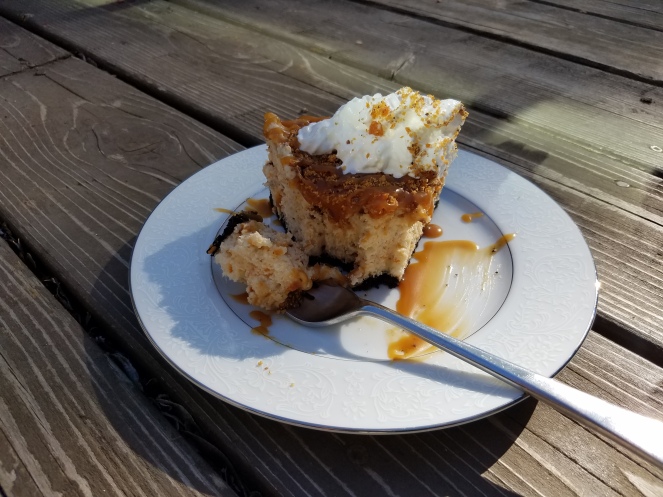
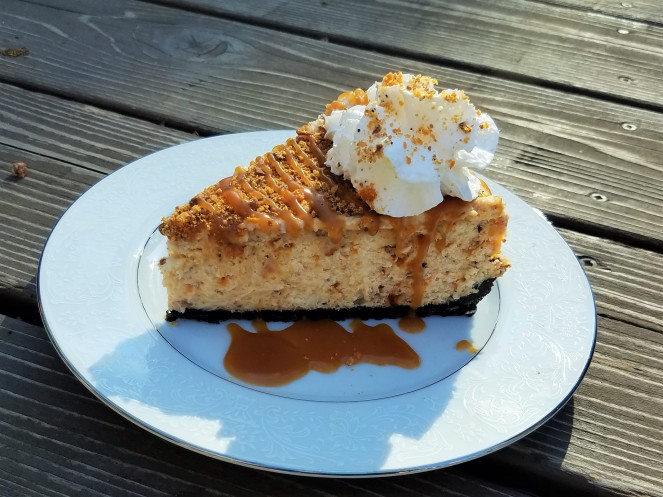
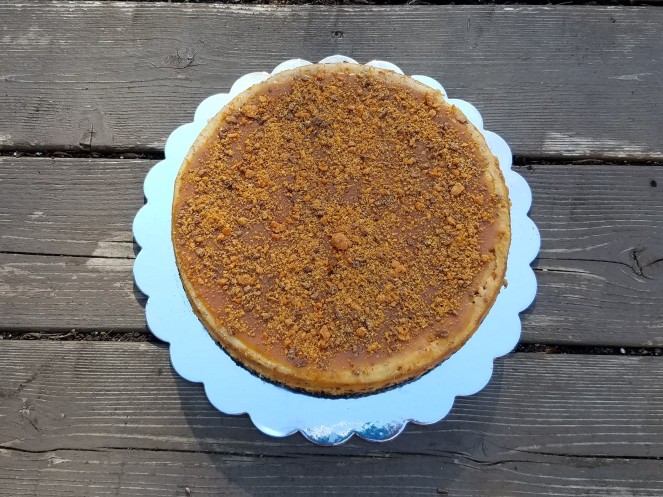
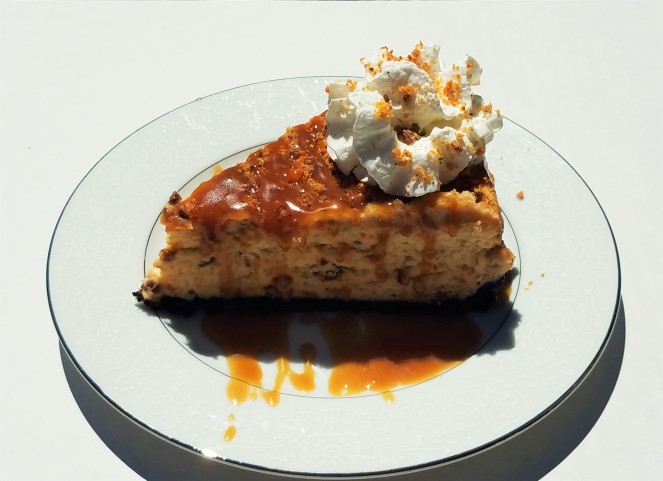
As you can see, it’s defiantly a beautiful cheesecake and from the few bites I took, I can now safely serve it to the guests at the party. It’s fivethumbsup approved!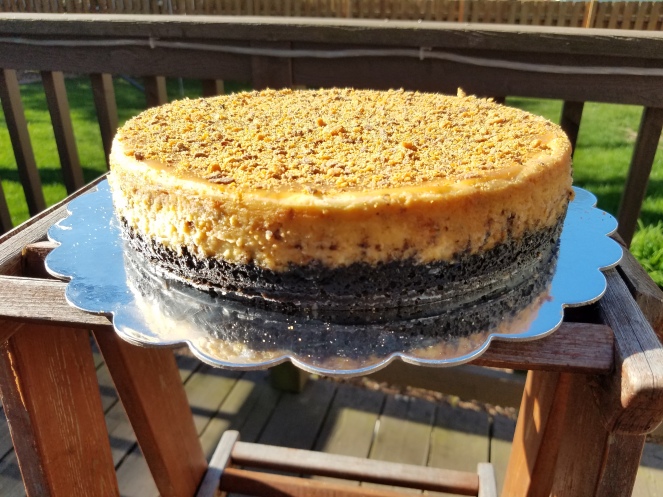
Ingredients:
Crust:
- 2 cups of crushed Oreos
- 1/2 crushed Butterfinger candy bars
- 6 tbsp. butter
Filling:
- 4 8 oz. packages of Philadelphia Cream Cheese (room temperature)
- 1 1/3 cup sugar
- 3/4 cup heavy whipping cream (room temperature)
- 3 tsp. vanilla
- 3 eggs (room temperature)
- 1 cup crushed butterfinger bars
Caramel topping:
- 1 cup sugar
- 2 tbsp. water
- 1 cup heavy whipping cream
- 4 tbsp. butter
- 1/2 tsp. sea salt
- crushed butterfinger bars
Directions:
Crust:
- In a food processor chop the Oreo cookies.
- Add 1/2 cup of crushed Butterfinger to the crushed Oreos
- Add in the melted butter. Pulse until combined.
- Pre-heat the oven to 350
- Cover the bottom on a 9-inch springform pan with tin foil. Grease the springform pan.
- Pour the crust into the greased pan. Press the mixture evenly on the bottom and about 2-inches up the sides of the pan. You can use a glass to help with this process.
- Bake in the oven for 10 minutes and set aside to cool.
Filling:
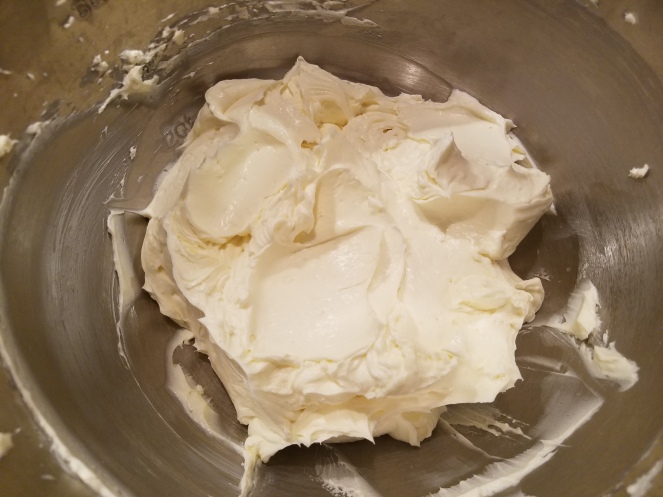
- In a large mixing bowl, beat the cream cheese, sugar, and heavy cream with an electronic mixer, until smooth and fluffy.
- Add the vanilla and beat on low until combined.
- On the lowest speed add each egg one at a time. Do not over mix.
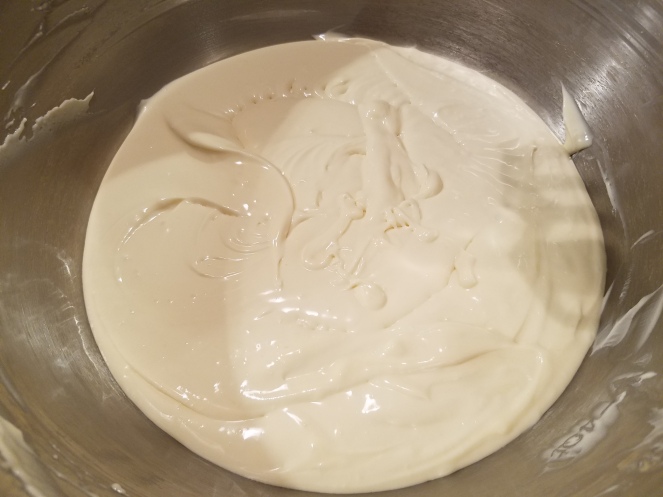
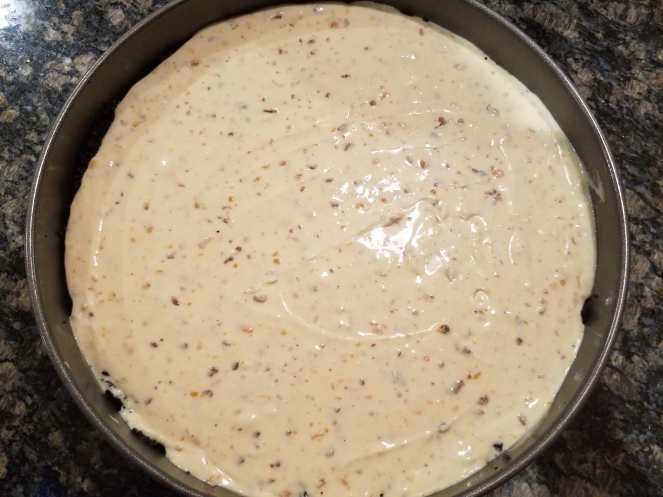
- Fold in 1 1/2 cups of the butterfinger crumbs.
- Pour into the cooled crust.
- Put the cheesecake in the oven with a water bath. Put a pan with water in the oven on the shelf under the cheesecake. This will help the cheesecake bake evenly and help prevent cracks. Some people put the pan right in the water, but I have had issues with the crust getting soggy and now I just put the water a rack lower or put it on a pan that has a cover with slits on it. If you decide to put the pan right in the water, make sure you line the bottom of the pan with heavy-duty tin foil.
- Bake at 350 for 1 hour.
- Turn the oven off crack the door open a little and let the cheesecake cool in there for an hour.
- Take out of the oven and let it completely cool on the counter. Cover and place it in the fridge for over night.
Topping:
- In a sauce pan on high heat, add the sugar and water. You will cook the sugar on high heat until it becomes a liquid and amber brown in color. The sugar will become a white liquid first, then all the water will evaporate but will quickly melt and turn into an amber liquid. Make sure you smash all the clumps out. Once you reach your desired color remove from heat. It will burn fast so don’t let it get too dark in color.
- Wait a couple of minutes and add the cream. Continuosly stirring.
- Add the butter and stir.
- Add the salt and stir.
- Pour the caramel sauce into a glass jar. It will thicken up as it cools.
- You can put it in the fridge and when ready to use, just heat up for 20-30 seconds.
- After the cheesecake has cooled overnight release it from the springform pan. As long as there are no toppings on it yet you can transfer it to a serving platter. First I put a plate on top of the cheesecake. Then I turn the cheesecake upside down. Take the bottom of the pan off. Put the serving platter on the bottom of the cheesecake and turn it over.
- Now top the cheesecake with the caramel and the remainder of the crushed butterfinger candy bars.
- Cut into individual pieces and top with whipped cream and more crushed butterfinger crumbs if desired.
Notes:
You will want to have plenty of butterfinger candy bars for the crust, filling, and topping. I bought two packages of the small candy bars and had plenty. I would think 4-5 normal sized bars would be enough. You can crush them all at the same time.
I hope you try this cheesecake out and you enjoy it as much as we did. Let me know if you try it and how it turned out for you!

I’m in love with this butterfinger cheesecake!! 🙂
Mollie
LikeLike
Thanks, you should try making it sometime, it’s so good.
LikeLiked by 1 person
This looks so good!!!
LikeLike
Thank you, it is so good!
LikeLiked by 1 person